3 min to read
Cloud Setup Tutorial Part-2
AWS Setup Tutorial

AWS
This is Part 2 of the Tutorial Series for setting up AWS. Checkout the Part 1 here.
In this post, we explore spot instances. Spot instances are an amazing way to cutting down your AWS bills by upto 90%!
Why Cheap? Well Amazon tends to leave its free servers around for usage of Spot instances; as a user you place a ‘bet’ on the pricing that you want for the instance. If someone outbids your price or if the load on AWS goes up. Boof! Your instance is gone!
One more point, unlike normal instances-spot instances do not let you retain your data after stopping the instance. There is no option of stopping it infact, you can only terminate the instance.
Now assuming we are good with the disclaimers and need to cut our costs, lets proceed:
Assumption: You’ve gone through the Part 1 and have a valid AWS account with a access to GPU Compute permissions (you have applied for increase in compute power and have access to >1 according to the limits)
- Start by logging in, login Here
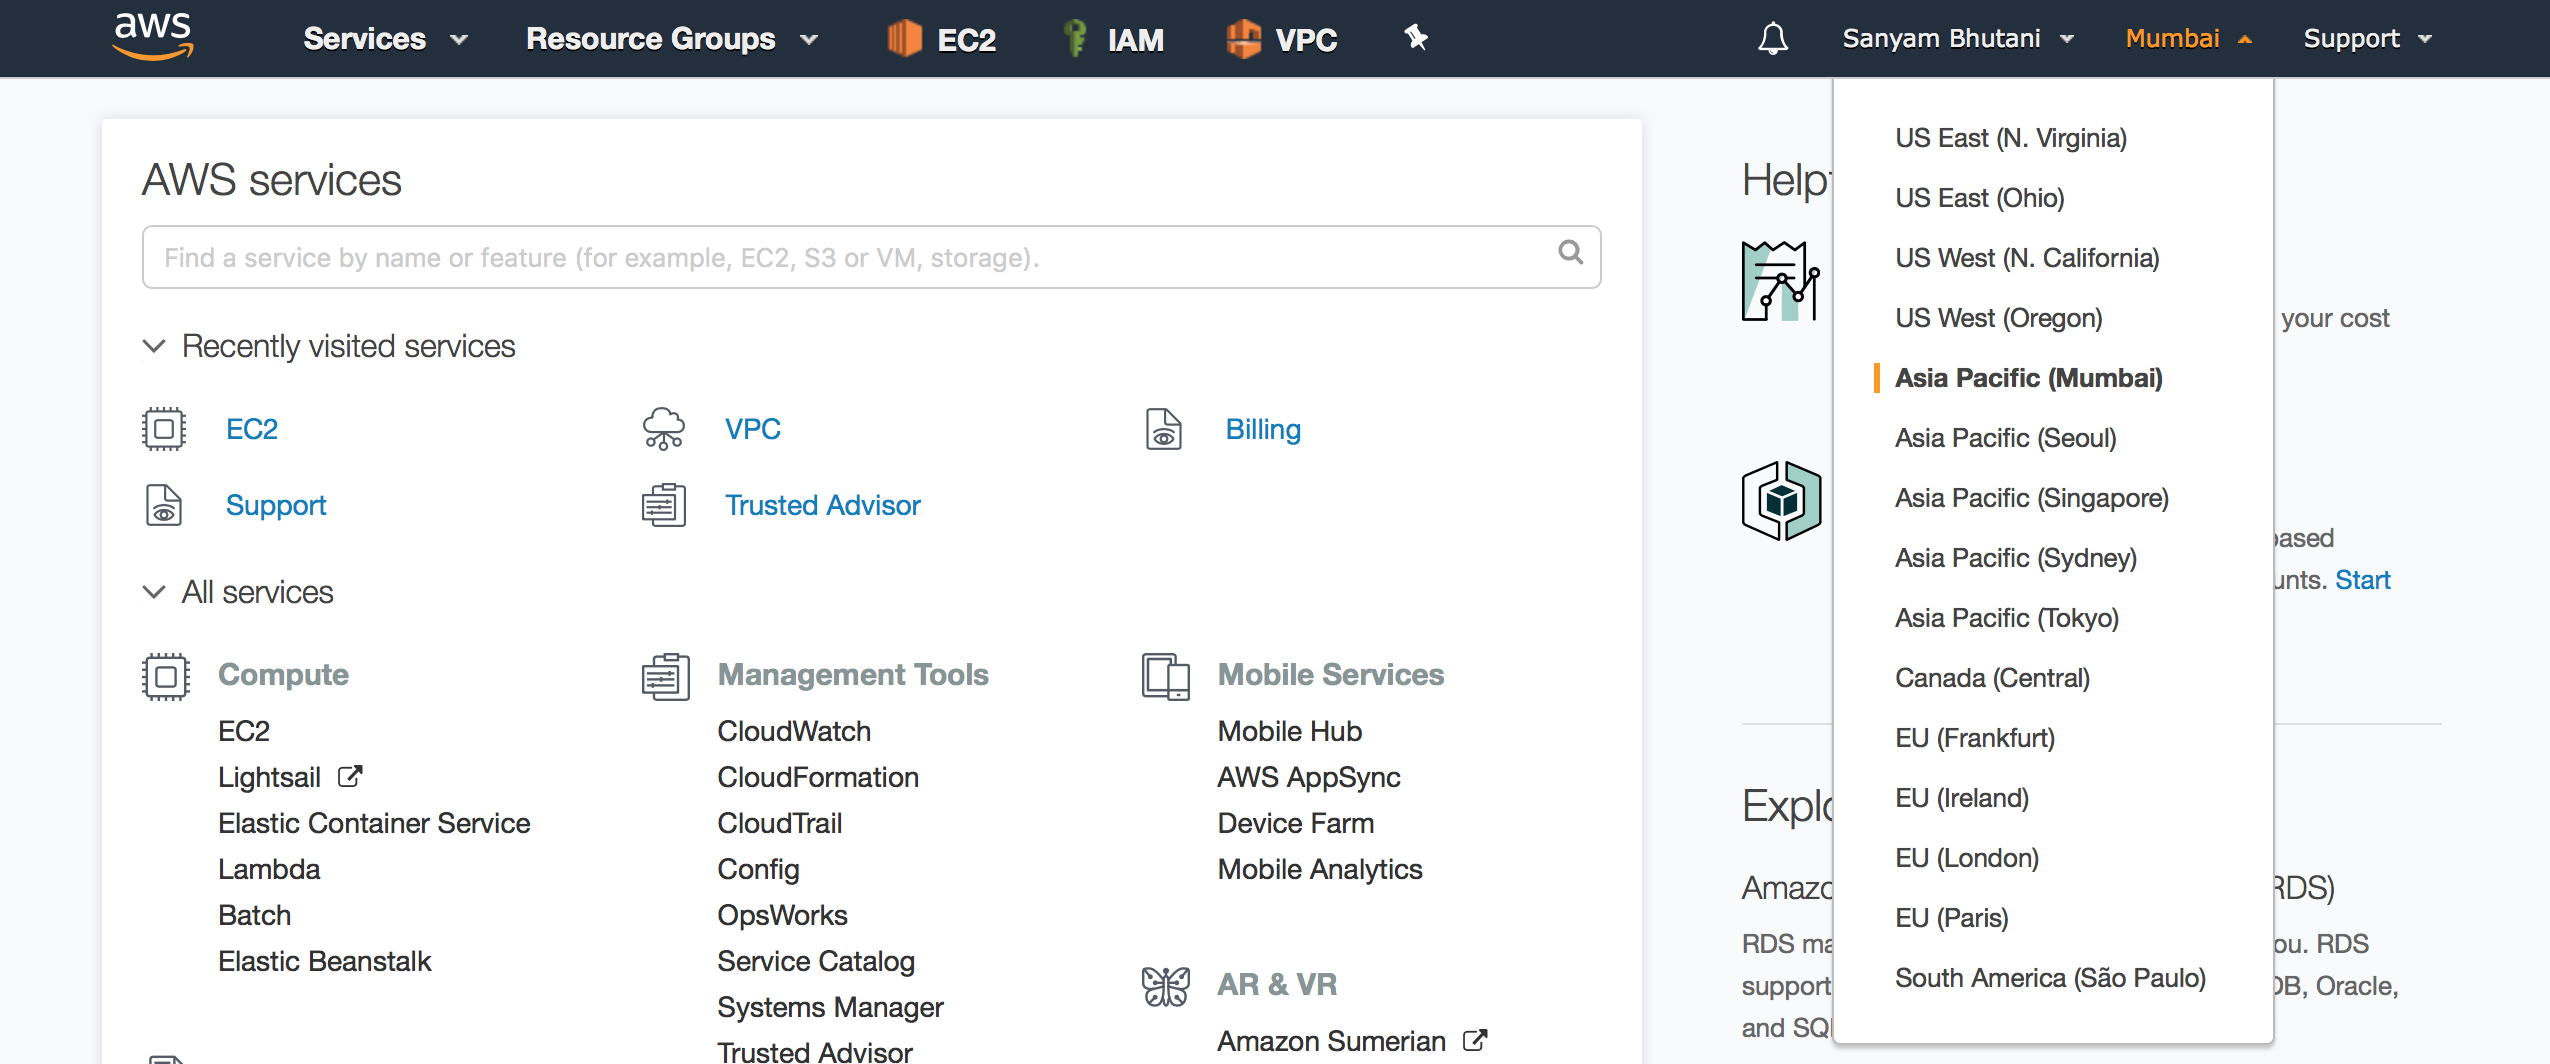
- Region: Select the region closest to you. AWS hosts its server in varying places, for the lowest lag, select one that is closest to you.
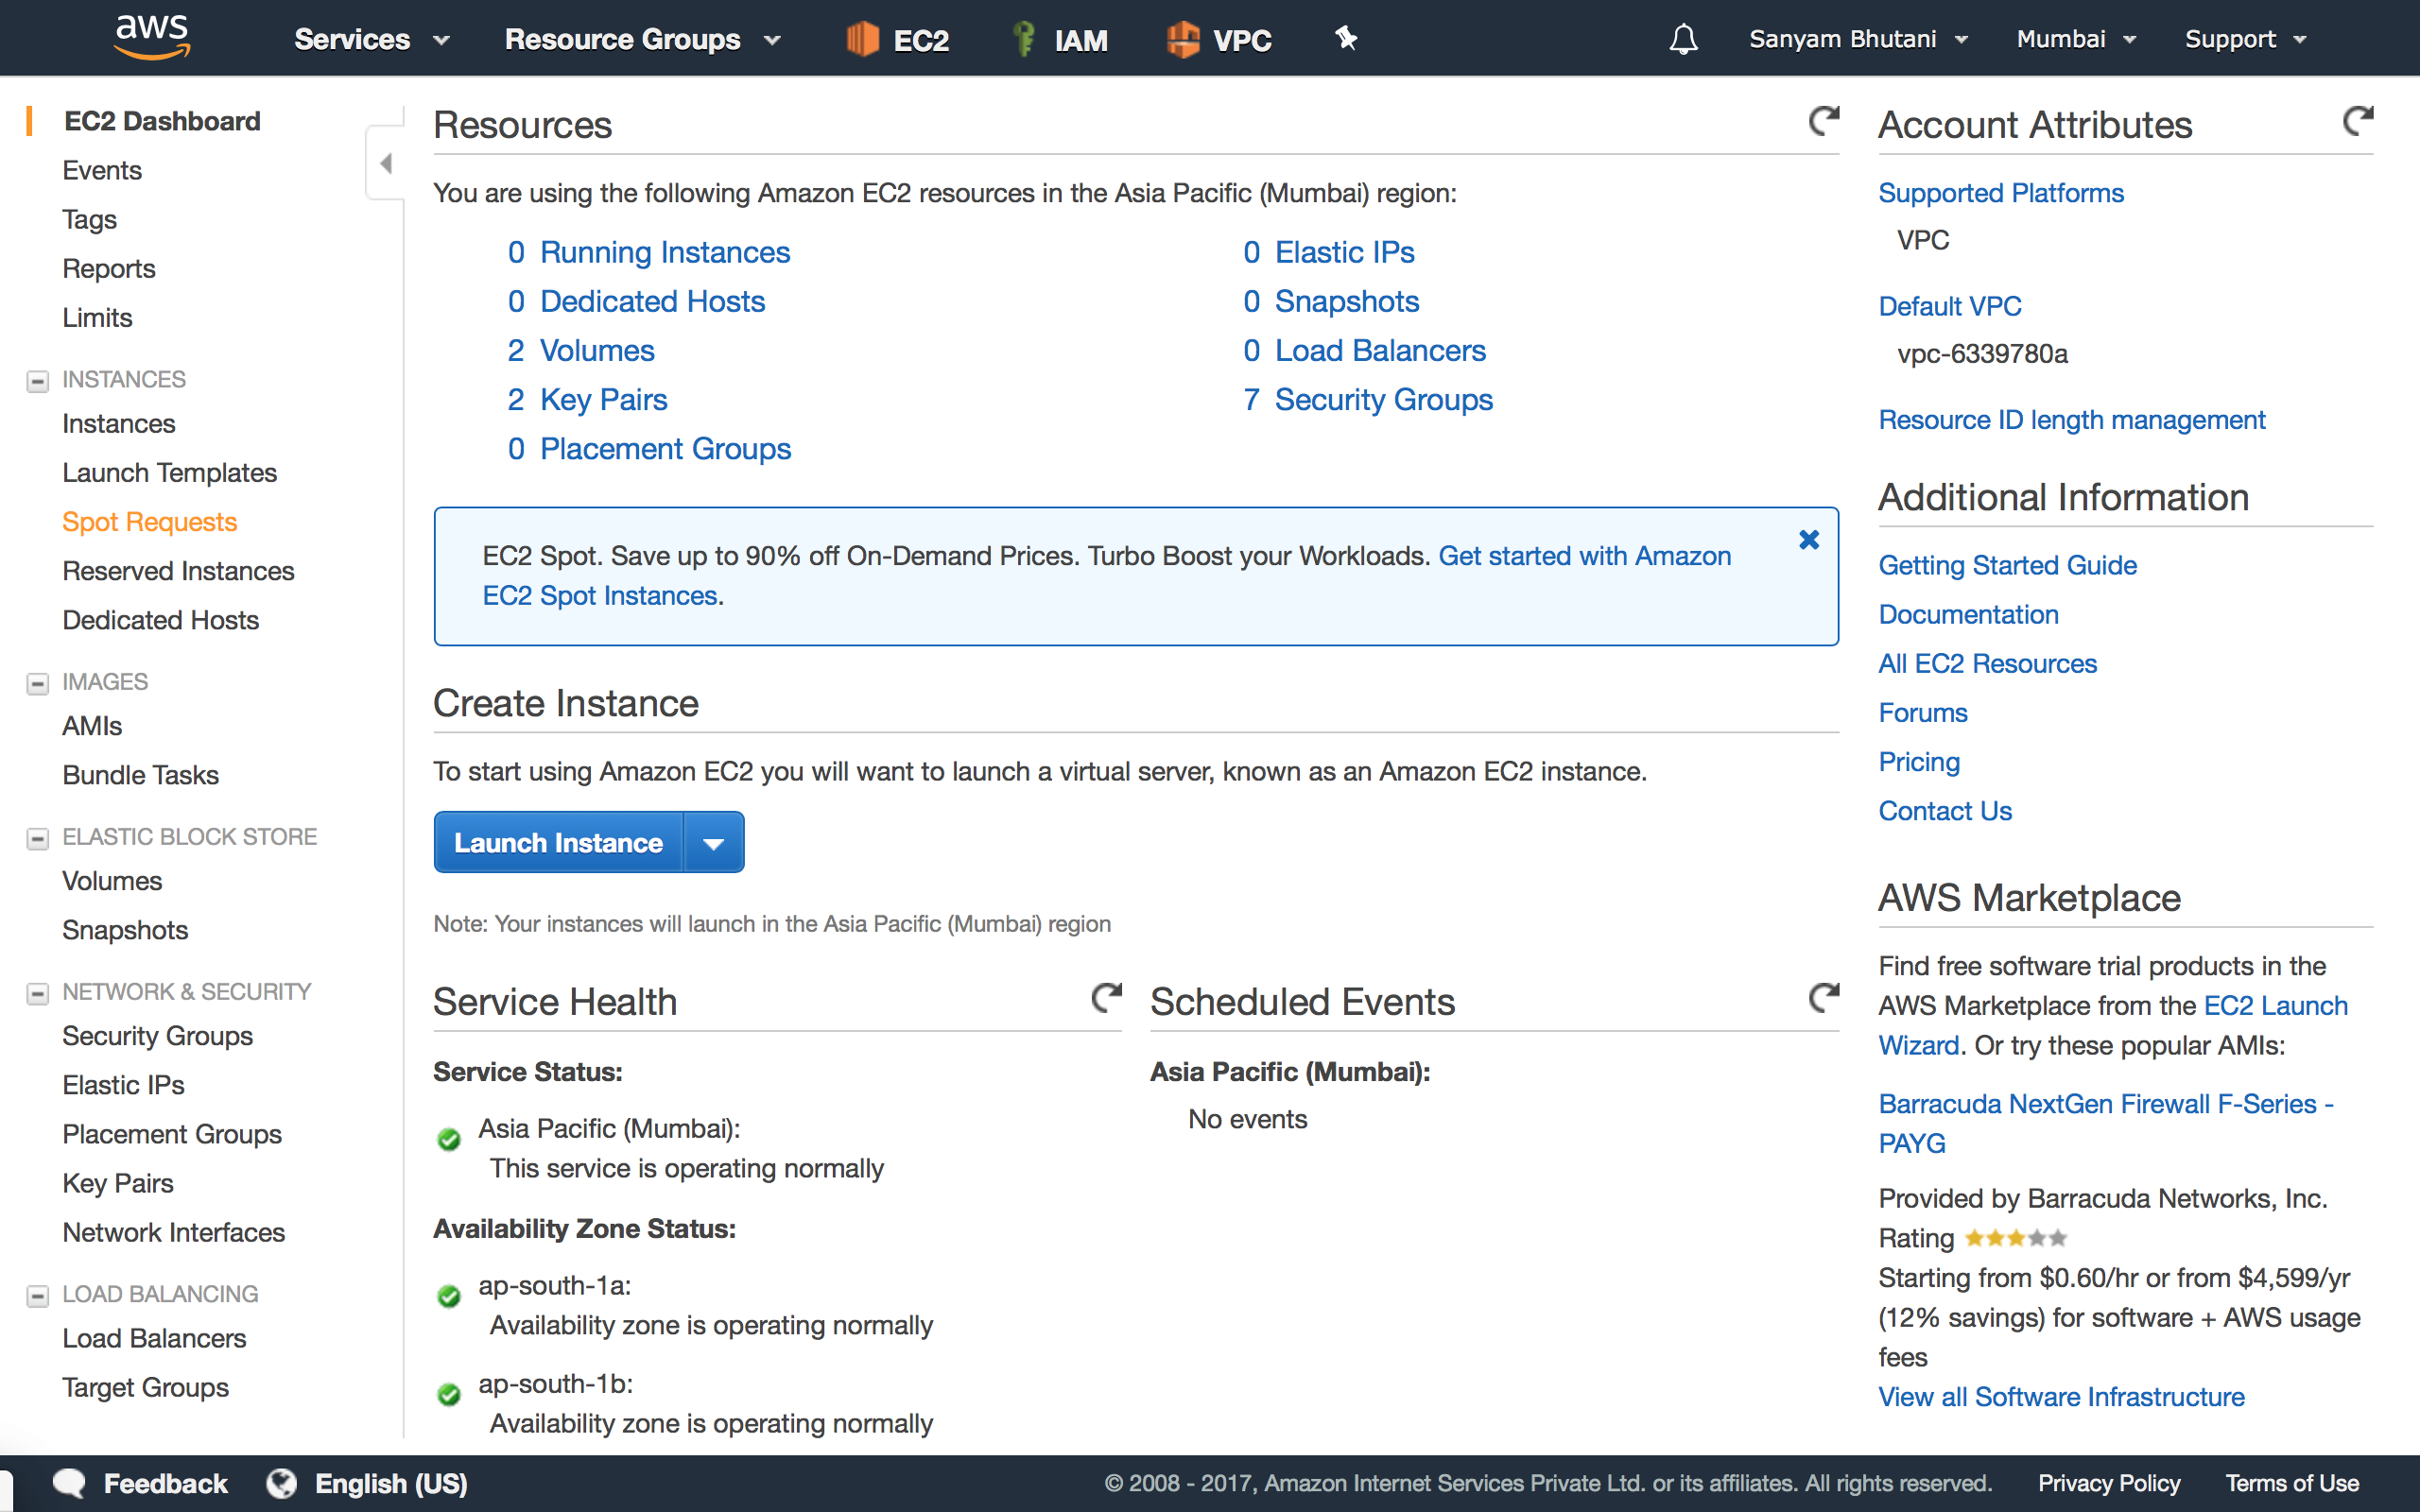
- From the Side menu (left side), select Spot Requests under Instances
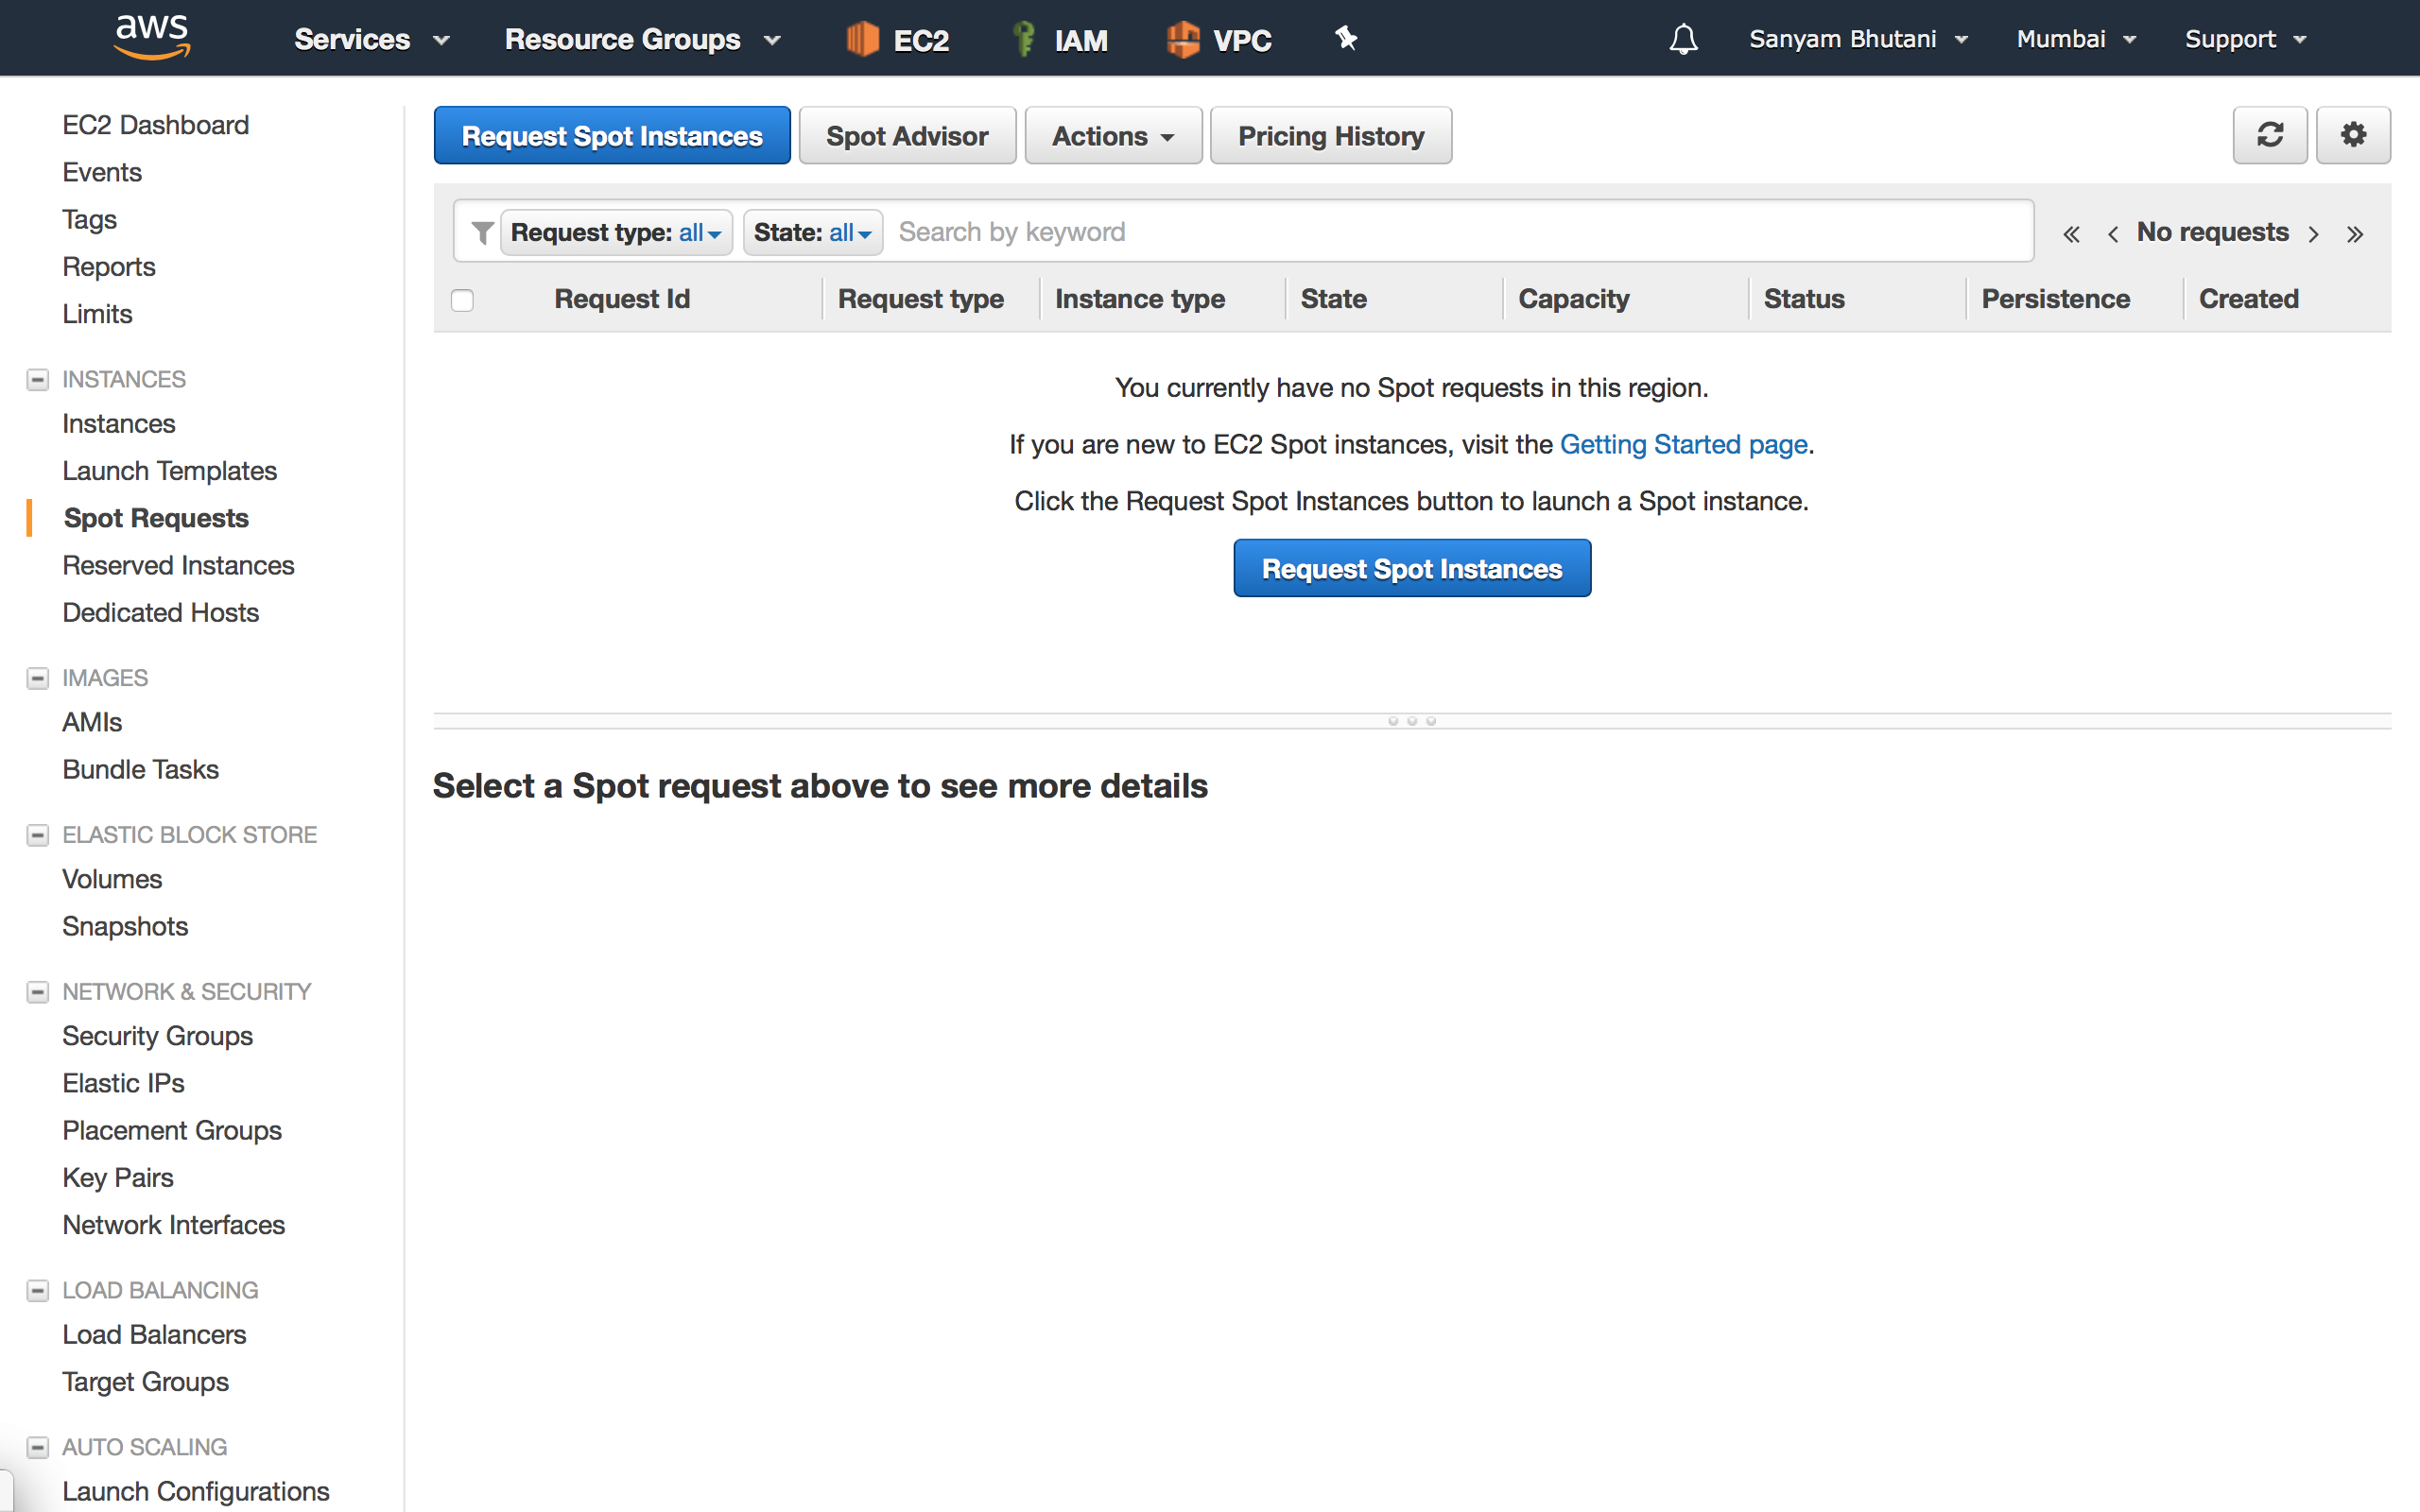
- Now you’re at the Spot Instance console, Click on Request a spot instance.
Requesting: So how this works is, you place a ‘bet’ on the pricing you want and AWS grants you the access based on availability. Now based on the load on AWS servers and the pricing you have requested, you may have to wait for a while.
- Select Request, Set the instances to one.
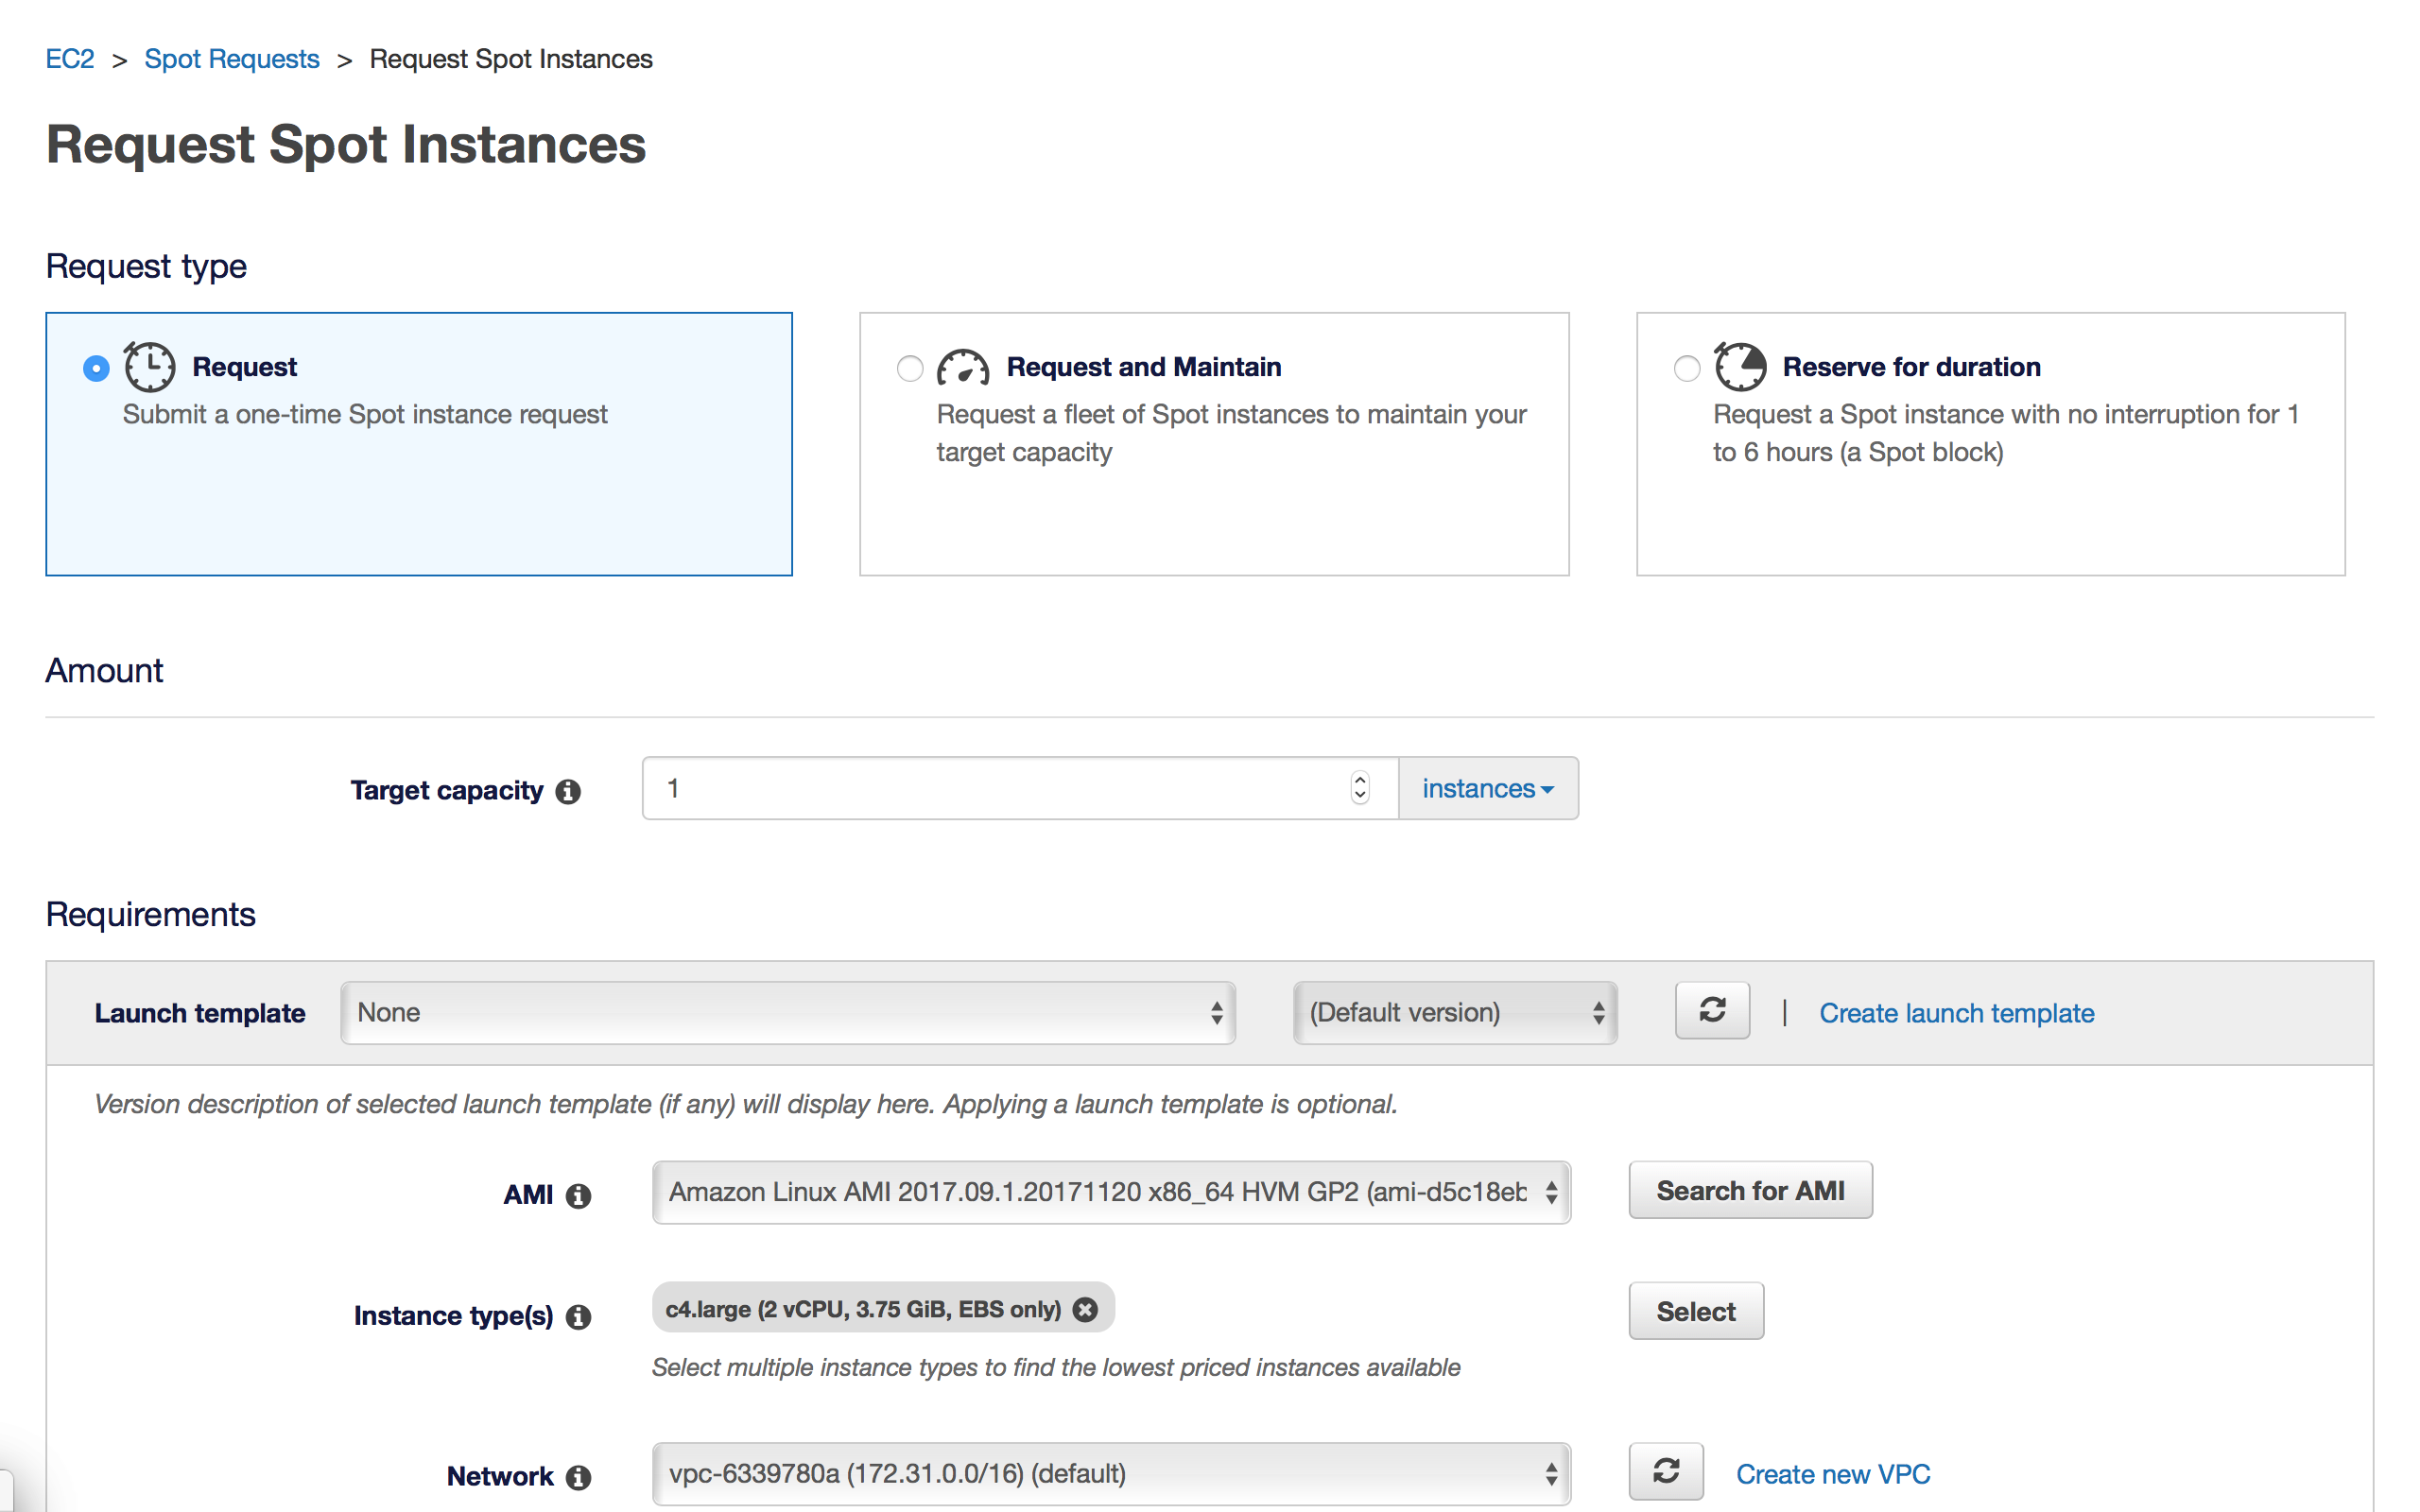
- Next, select an AMI. This has been discussed in Part 1 so we’ll skip the discussion here. To summarize, select an AMI with all the libraries that you need and you’re good.

- Select the Instance type as p2.xlarge from the GPU compute option.
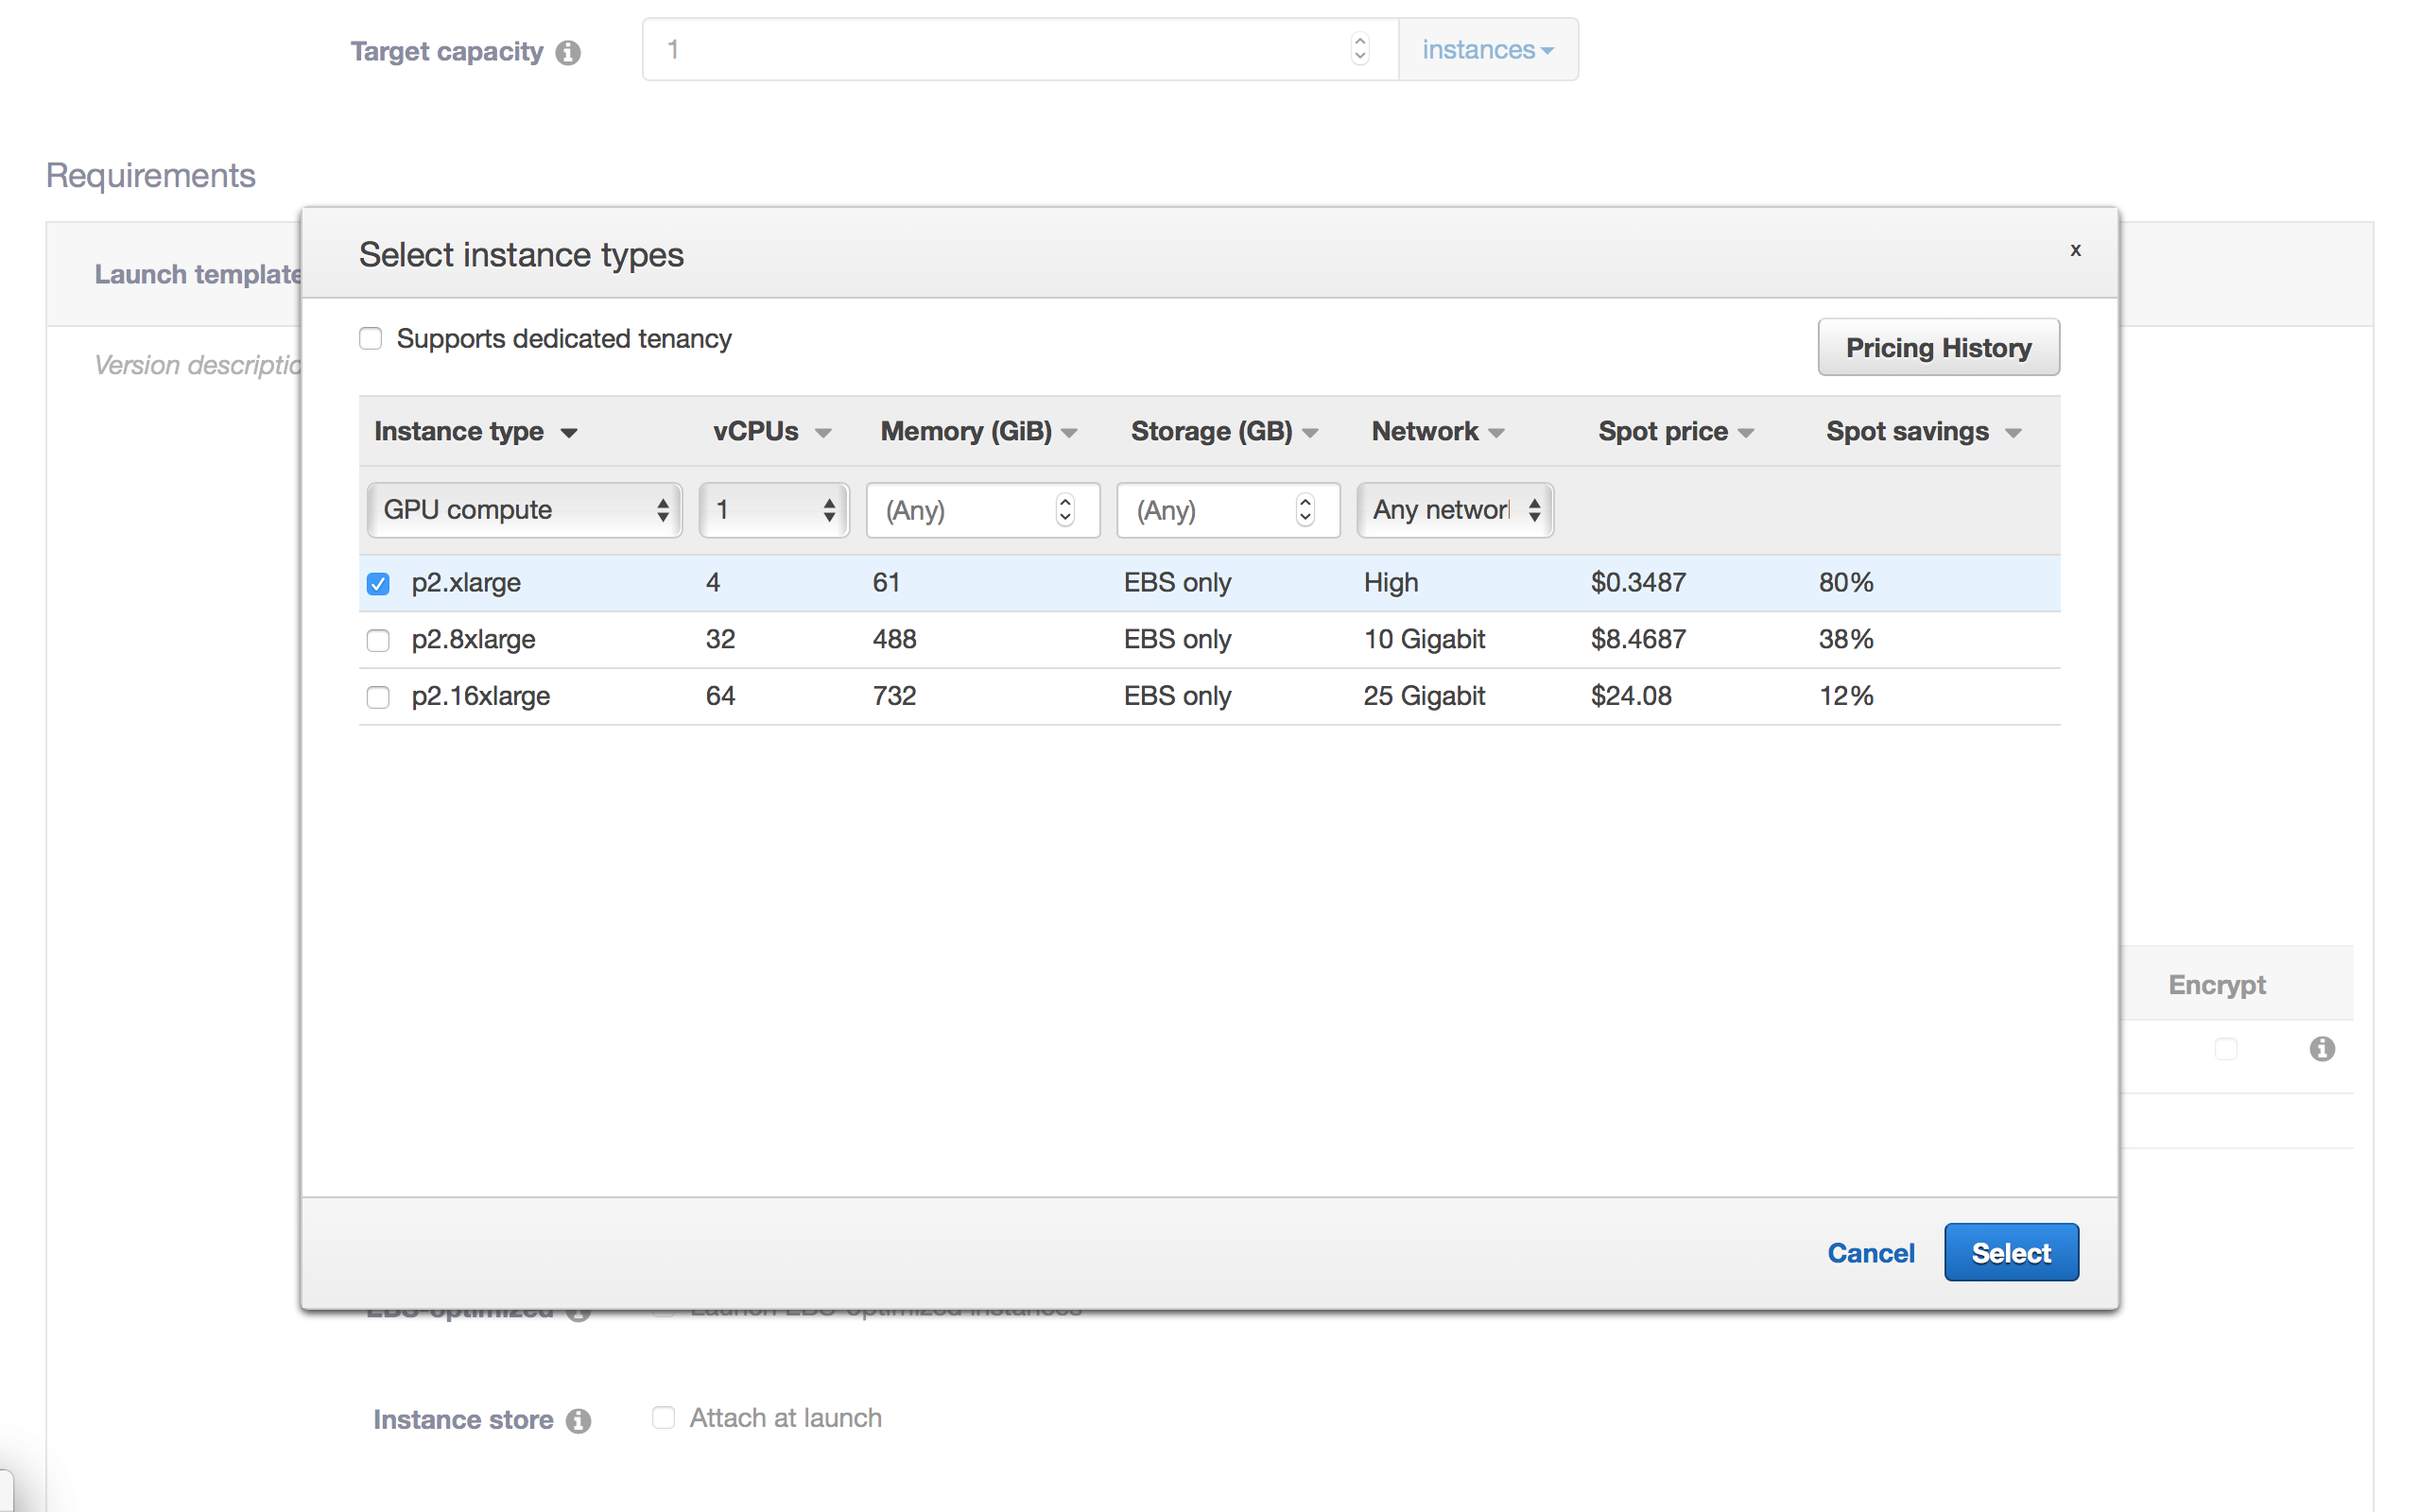
- Cross out the preselected instances to only keep it as a p2.xlarge
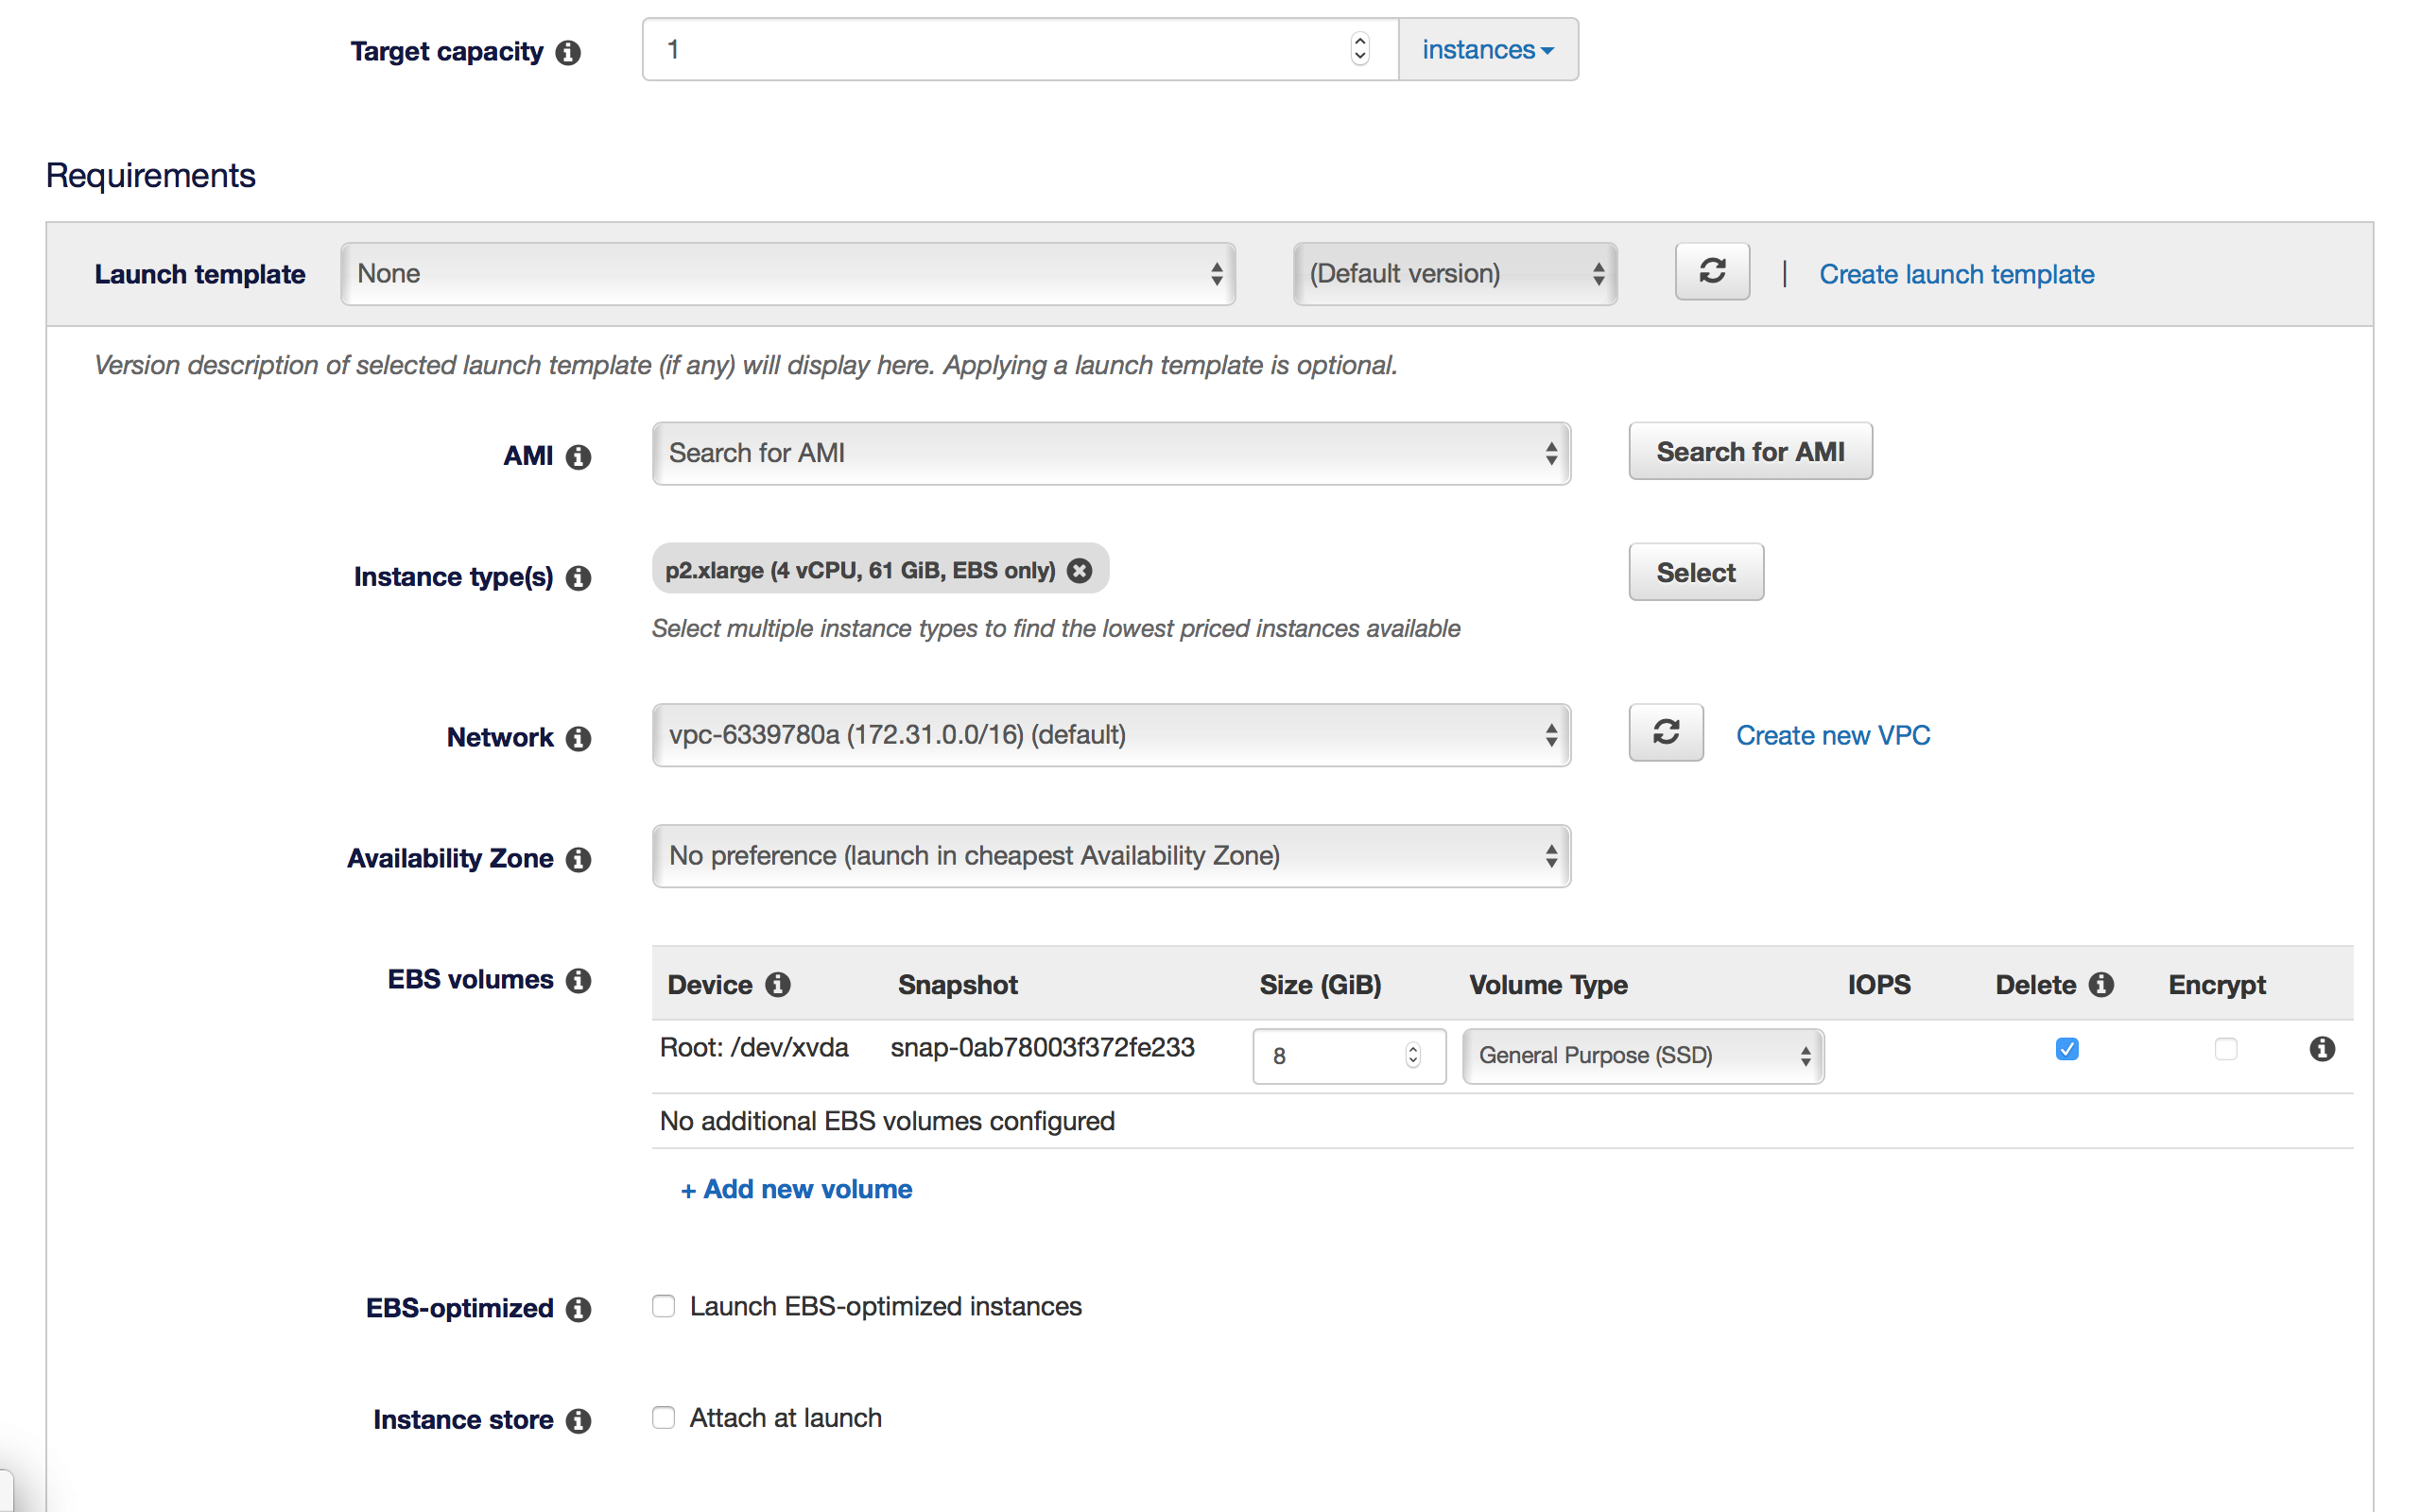
- You might want to increase the storage offered (As per requirements)
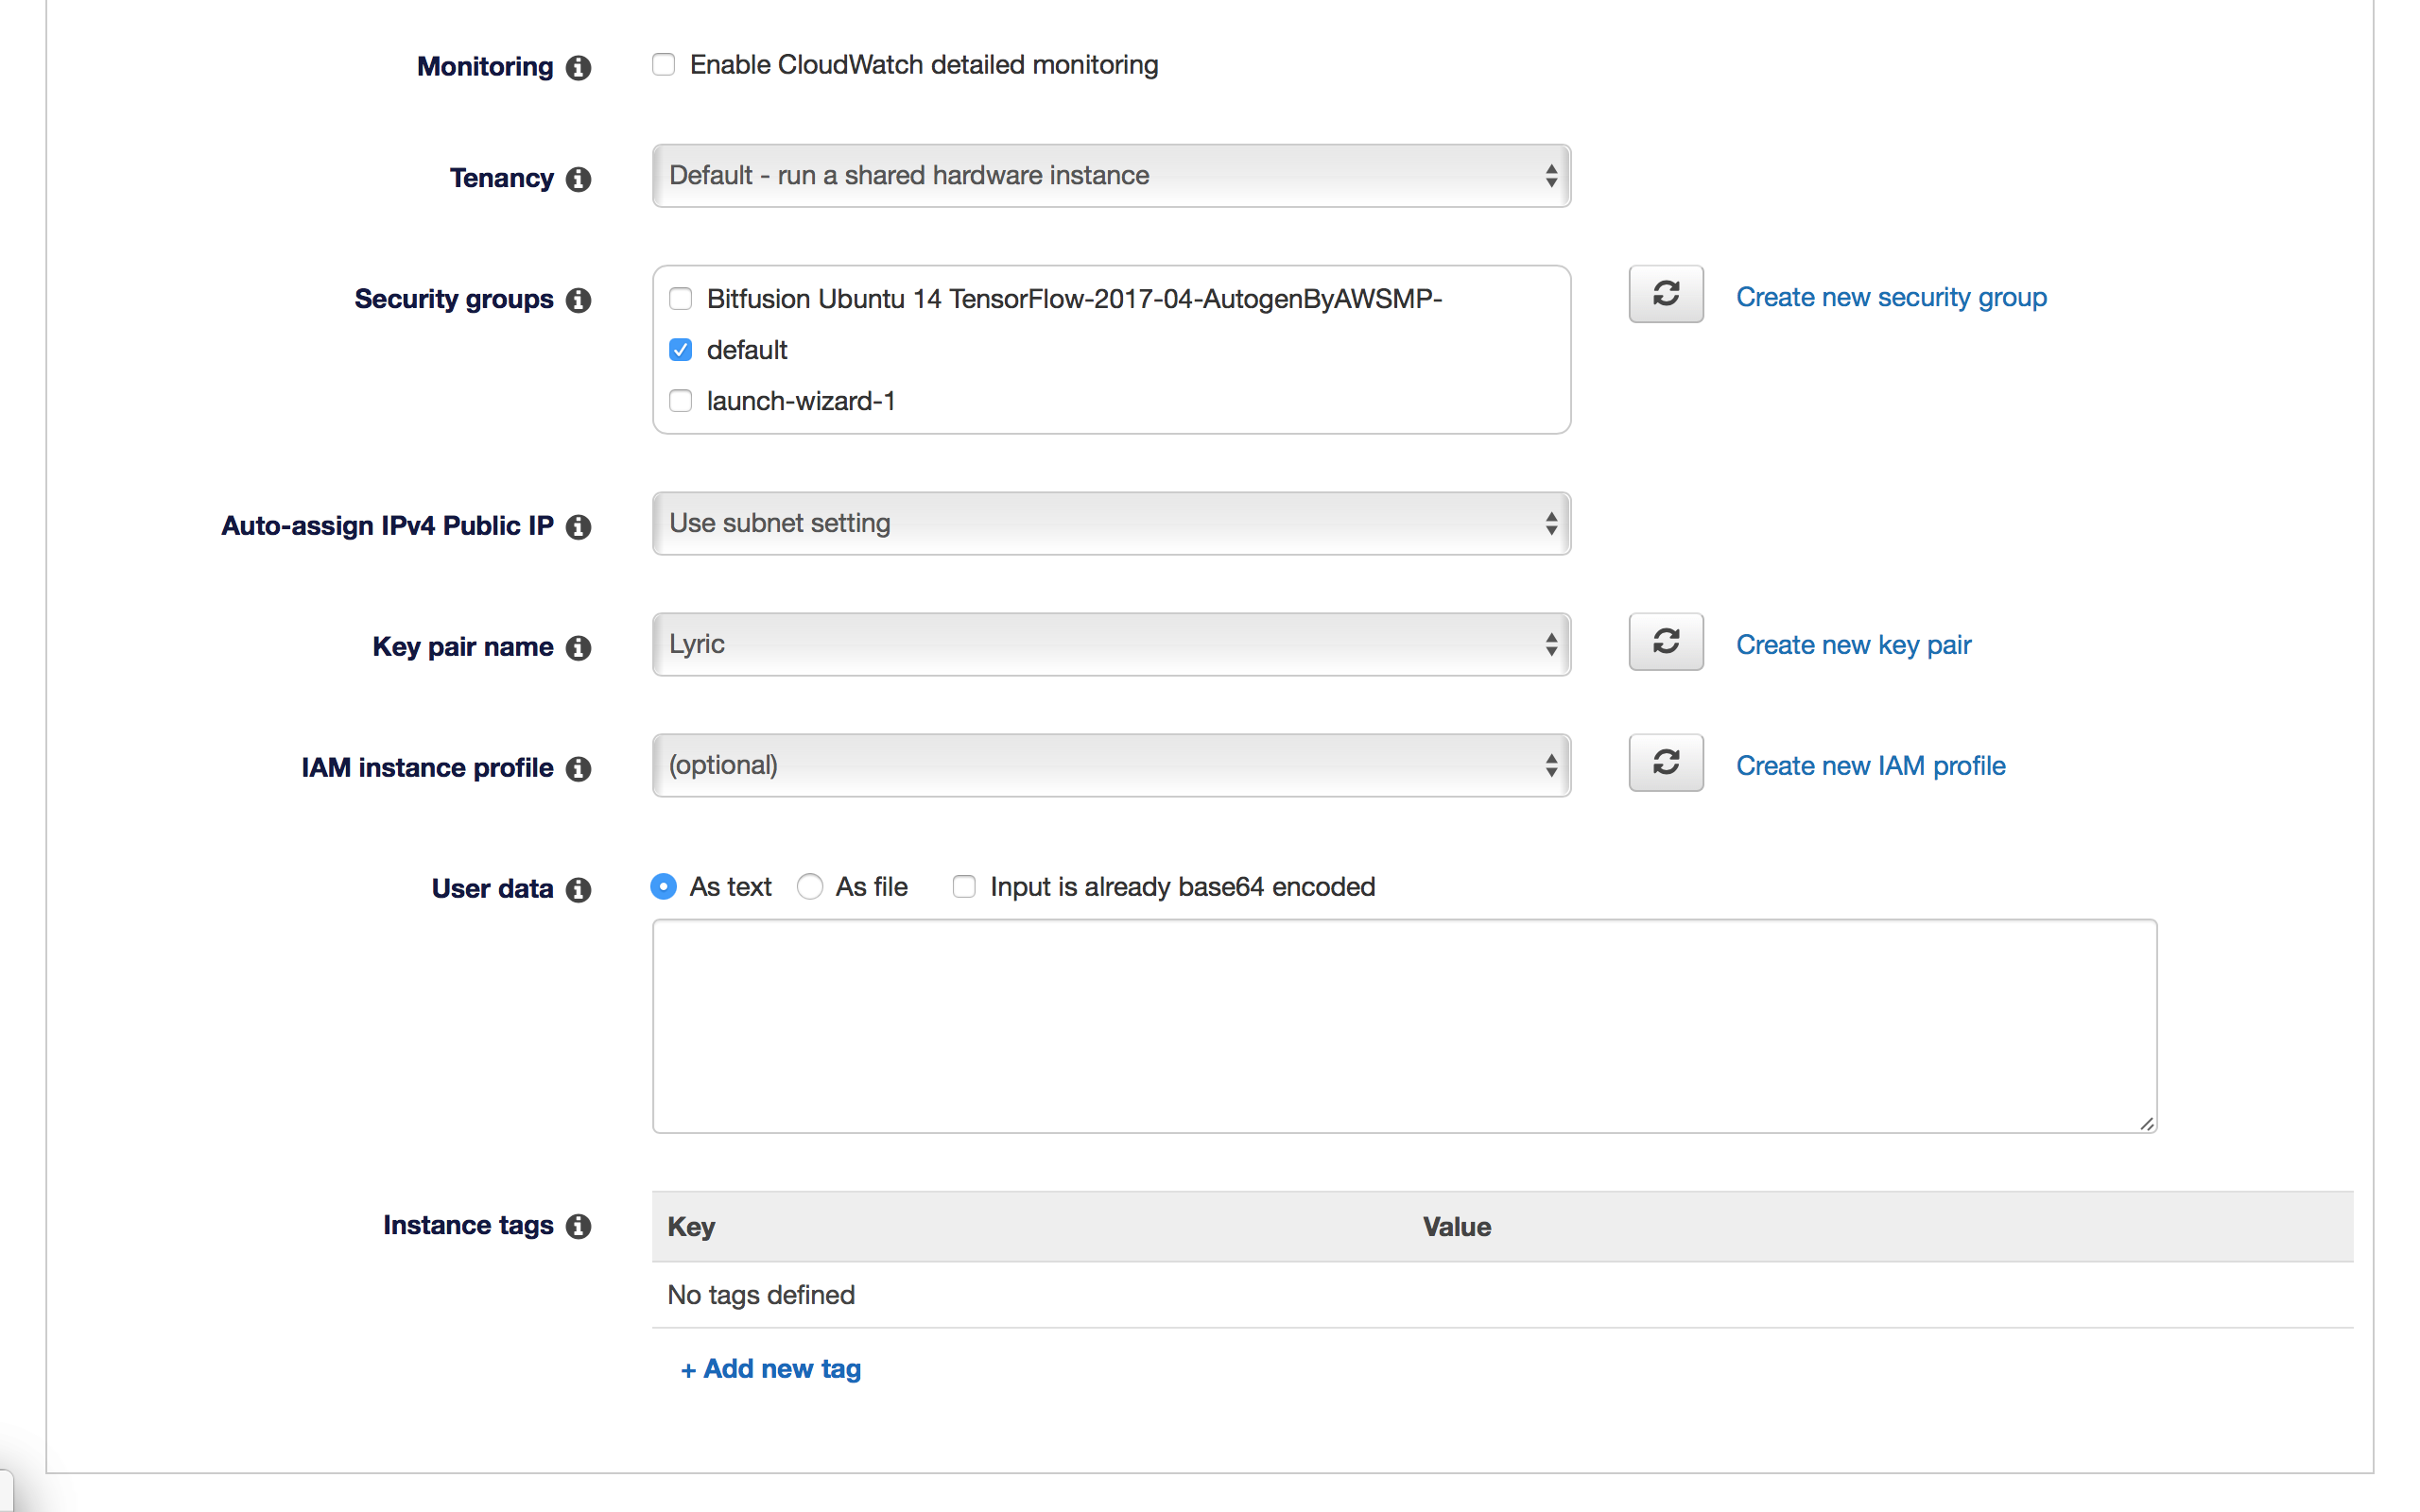
- Select the default security groups
-
Now we have to set the price for our request. The ideal thing to do is ‘Use default’. However, if you’re hell bent on saving money you could set the maximum price (This caps the pricing-if a lower option is available it will be granted to you, however no option greater than this will be granted)
- Set your ‘Key’ pairs
- I’m using a pre-created .pem. You may create a new one by selecting that from the Drop Down menu.
Key Pair: We use Secure Shell Login or SSH to login to our instances, the security is ensured by A Key-Pair which gives you access to the instance
- Download the Key pair ( A xyz.pem) file
- SAVE THIS FILE, DELETING IT WILL MAKE YOU LOSE ACCESS TO THE INSTANCE.
- Finally Click on launch
- Next your request will be active
- Once it is accepted (based on availablity) you will be redirected to the EC2 instance page
- First, you need to enable permissions for the .pem file
- Open a terminal
- Cd to the directory where the .pem file is
- chmod 400 xyz.pem
- This will set the permissions to use the file
- Next, click on the Instance and click Connect from the Menu
- Just copy the “ssh -i xyz.pem….” command and run it inside your terminal
- Type yes to save the Auth files
- Voila! You’re in.
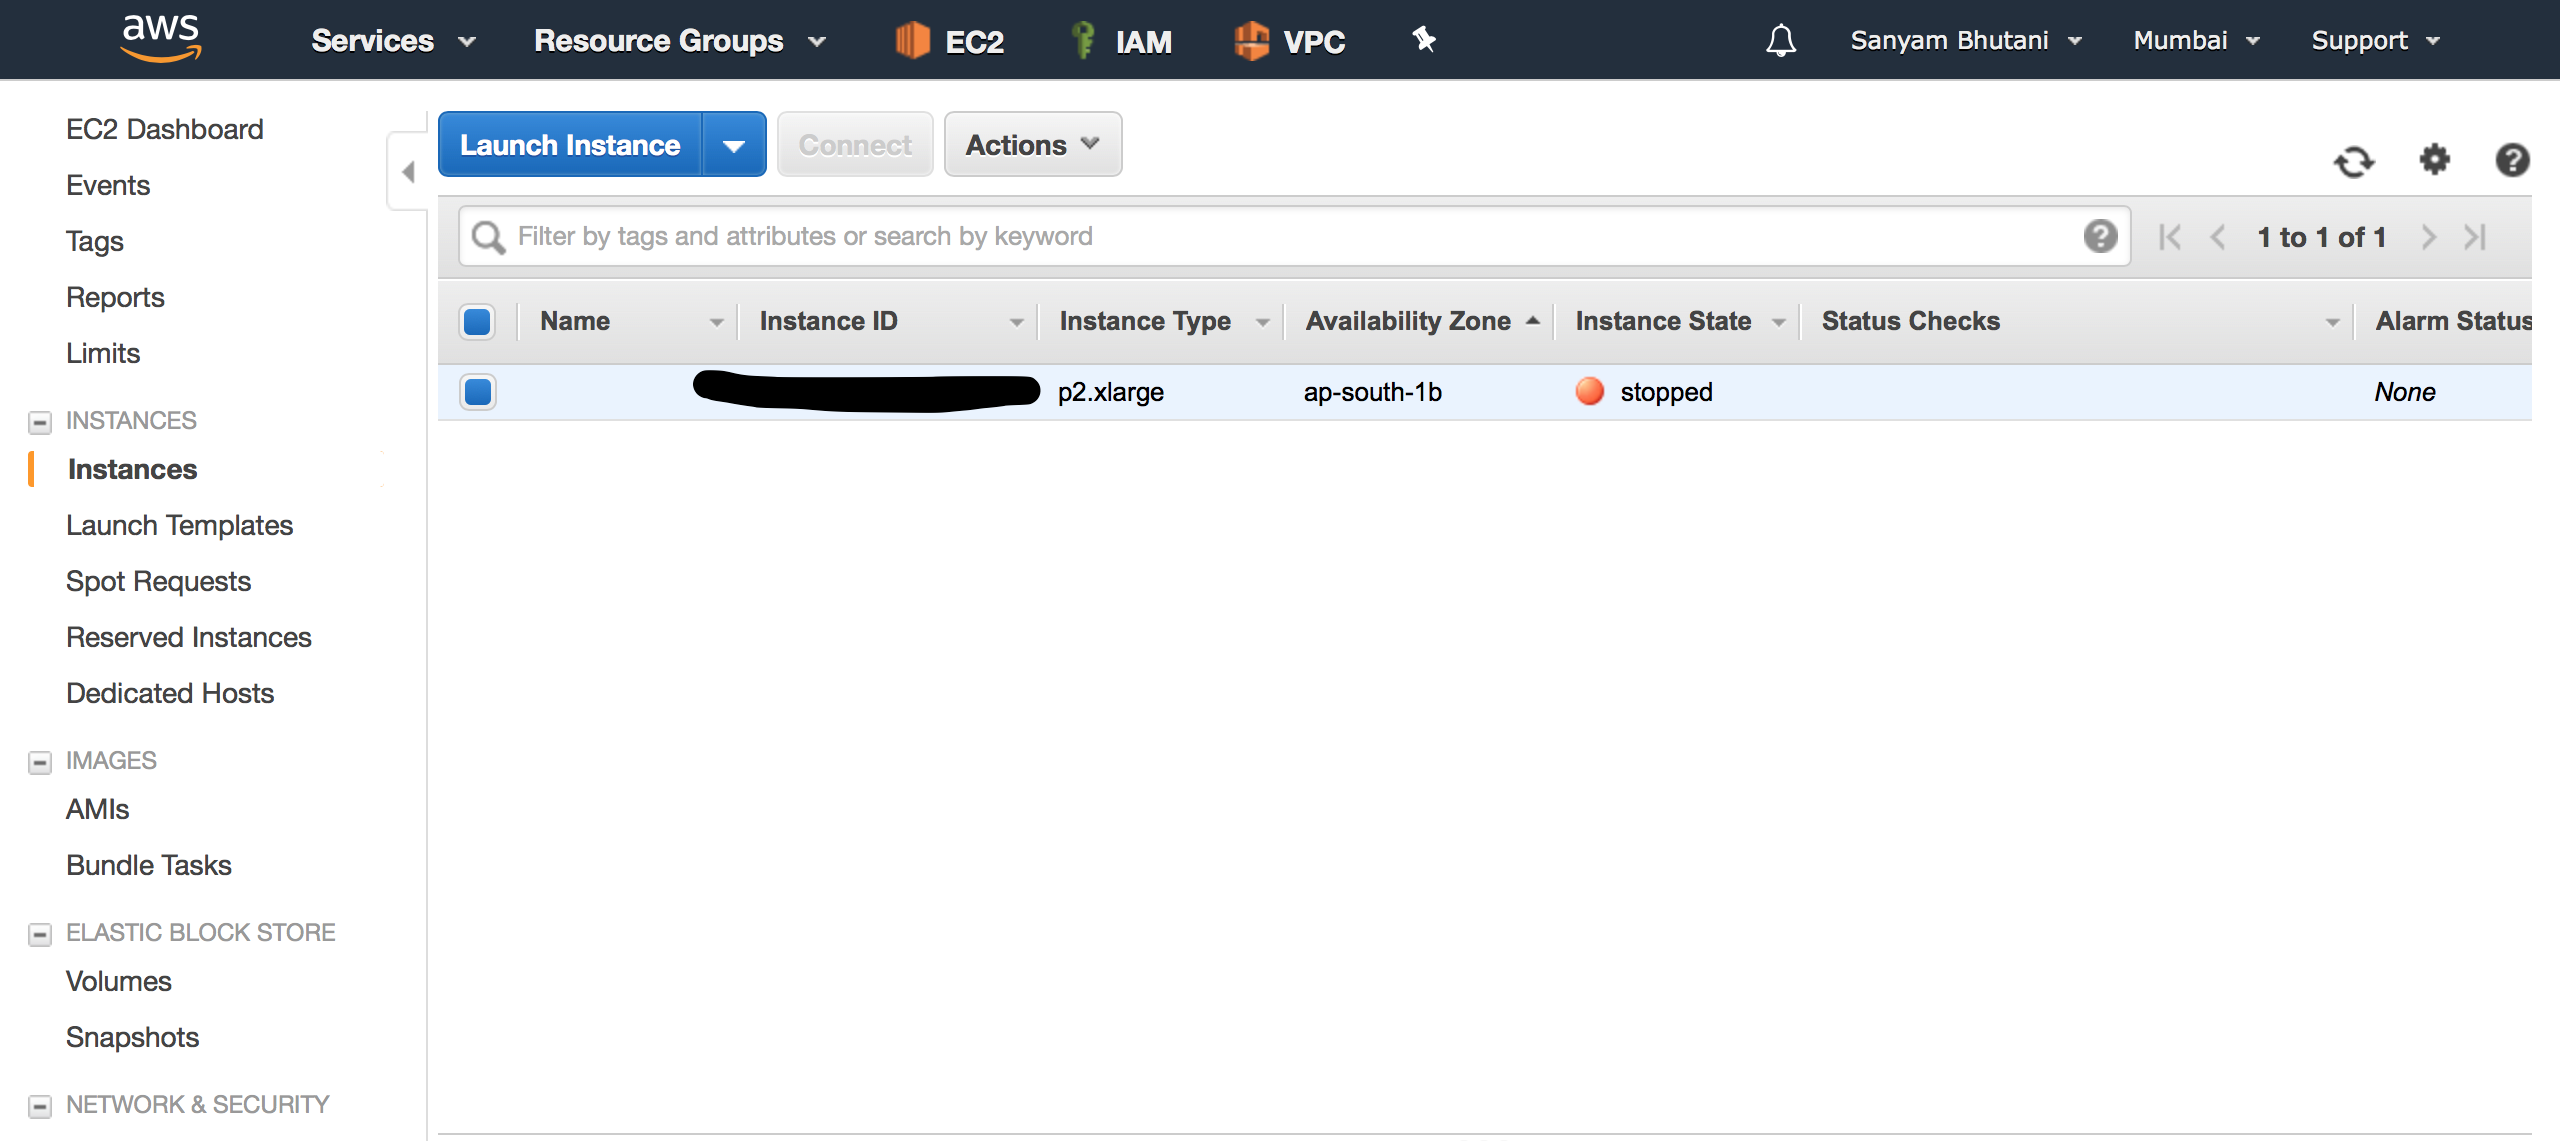
- Remeber to Terminate the instace once you’re done.
- Notice that this instance doesn’t have an option to Stop the instance.
Any problems? Leave a comment below!
Comments